

Paver Block Machine Assembly Guide for Contractors Starting a Business
Factory-welded frames are not perfect upon arrival.
Proper assembly of a paver block machine is not merely about bolting parts together; it is fundamentally about re-verifying baseline accuracy after shipping. Precise leveling of the vibration table and mold guides is the single biggest factor in reducing early-stage waste, often cutting rejection rates from unacceptable levels to near-zero during the initial production phase.
I remember standing in a humid coastal port in Recife, Brazil, watching a new QT6-15 line sputter through its first run. The framework looked solid, and the hydraulic station hummed with promise, but the pavers coming out were jagged, with severe edge burrs that made them unsellable for any serious infrastructure project. The local contractor held a caliper, silent and impatient, waiting for an explanation. The issue was not a manufacturing defect in the steel or a flaw in the hydraulic logic. It was a two-millimeter deviation in the base level caused by ocean freight vibration, which had shifted the critical baseline surfaces. No one had re-measured it during assembly. That incident changed how I approach every installation. Now, before any power is applied, I use dial indicators and spirit levels to verify every key reference plane. This guide details that field-tested process, ensuring your Paver Block Machine Assembly Guide leads to immediate, high-quality output rather than weeks of troubleshooting.
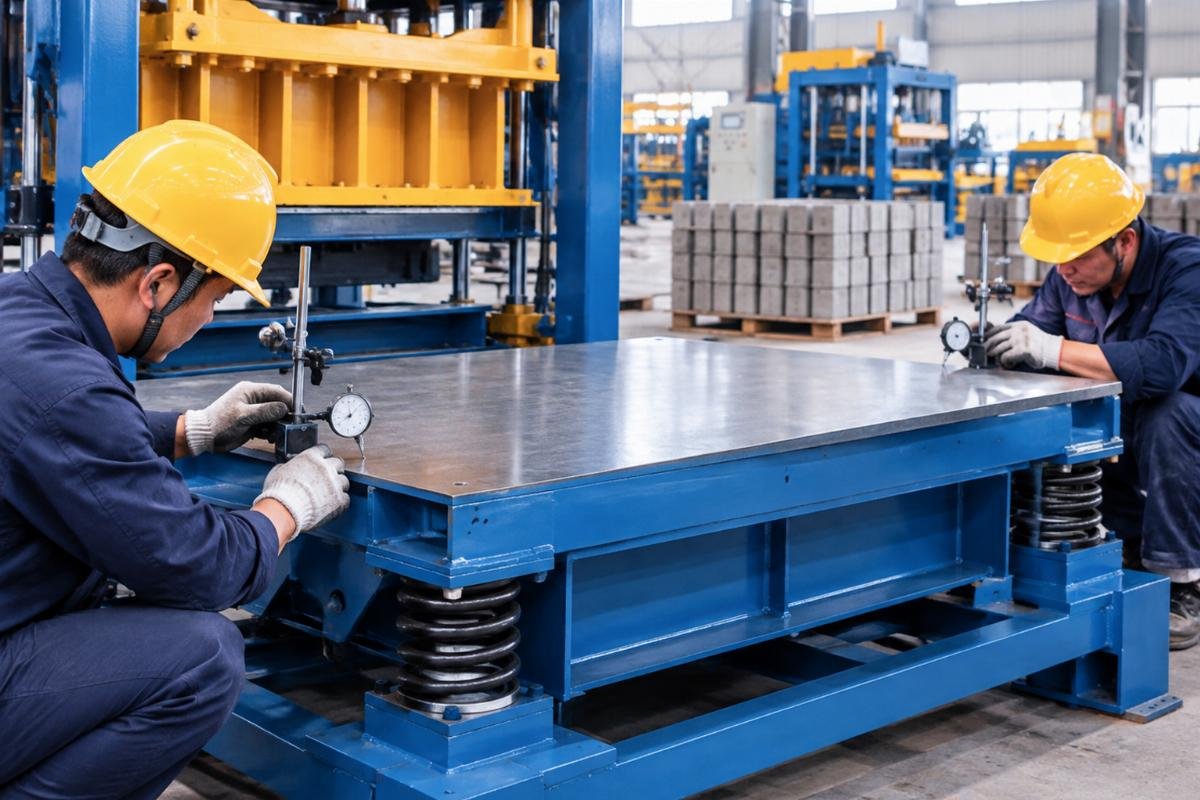
Transitioning from uncrating to production requires a disciplined focus on geometric accuracy rather than just mechanical connection.
Why Does My New Machine Produce Defective Blocks?
Shipping stress often misaligns critical vibration baselines, creating friction that mimics hydraulic failure.
Many investors assume that because the frame is welded in a controlled factory environment, it will remain perfectly square after crossing oceans. This is a dangerous misconception. Container ships experience constant rolling and pitching, and heavy machinery secured on wooden skids can shift microscopically within its mounting points. When the machine lands, these shifts accumulate in the vibration table’s relationship to the mold carriage.
If the vibration table is not perfectly parallel to the mold guide rails, the mold box will bind during the pressing cycle. This binding creates lateral friction. Instead of the vibration energy compacting the concrete mix evenly, a significant portion is lost overcoming this friction. The result is inconsistent density and, most visibly, ragged edges on the finished pavers. [NEED_CITE: impact of mechanical friction on vibration transmission efficiency in concrete compaction]
In one case for a housing project contractor in West Africa, the team spent days adjusting hydraulic pressure, thinking more force would solve the density issue. In reality, the misalignment was causing the mold to drag against the guides. Once we corrected the base level, the same hydraulic settings produced dense, sharp-edged blocks without any increase in pressure. Understanding this dynamic is central to any effective Paver Block Machine Assembly Guide.
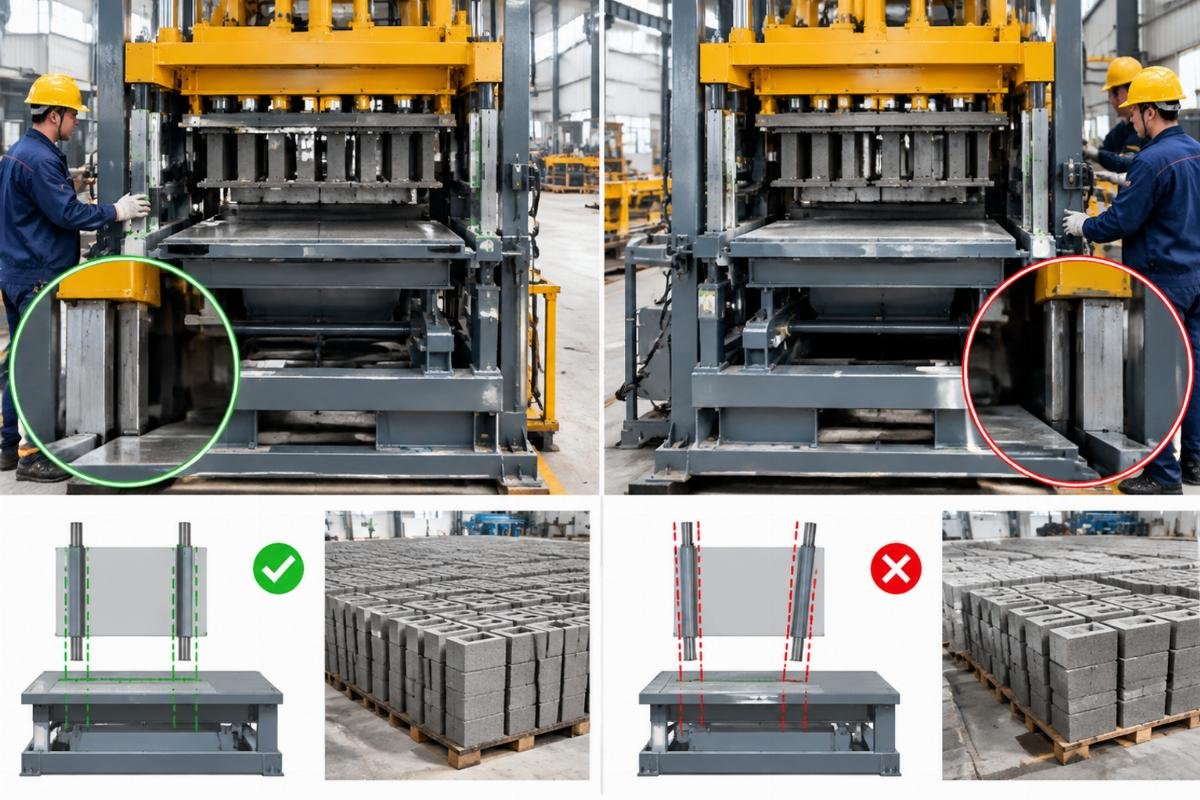
The root cause of poor block quality is rarely the concrete mix alone; it is often the mechanical geometry of the assembly.
What Are the Critical Pre-Power Checks?
Verify frame levelness and hydraulic integrity before the first start to prevent catastrophic seal damage.
Before connecting the main power supply, a rigorous static inspection is required. This phase is about ensuring the foundation and the machine’s internal systems are ready to handle dynamic loads. Skipping these checks can lead to premature wear on seals and cylinders, costing far more than the time saved.
First, inspect the foundation bolts. The machine must be anchored to a concrete base that has cured fully. Use a precision spirit level on the main frame beams, not just the outer casing. The tolerance for horizontal deviation should be minimal. If the frame is twisted, the entire kinematic chain will be off-axis. [NEED_CITE: ISO standards for installation levelness of heavy industrial machinery]
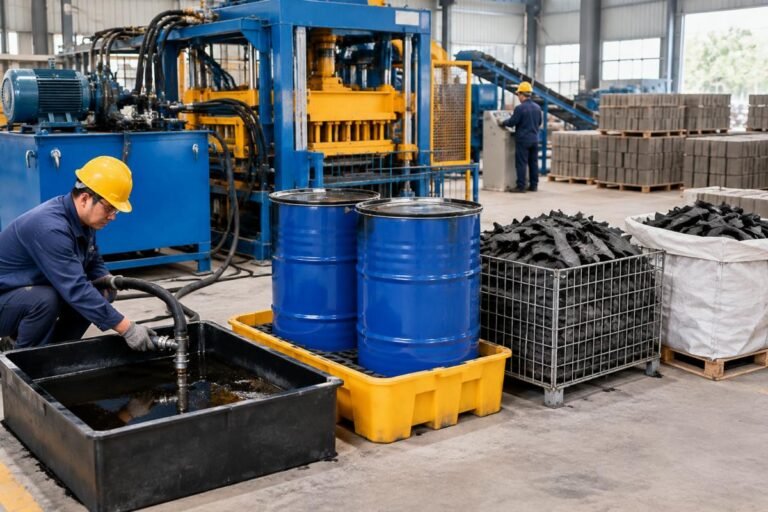
Next, examine the hydraulic station. Check all hose connections for tightness and ensure the oil reservoir is filled to the correct level with the specified grade of hydraulic fluid. Air in the system is a common enemy during initial startup. Before engaging the main cylinder, jog the pump motor briefly to circulate oil and bleed air from the lines. Listen for unusual cavitation noises, which indicate suction issues.
A pre-commissioning checklist is vital here. For a recent client in Southeast Asia, using a structured checklist reduced their setup time significantly because it prevented the need to drain and refill the hydraulic system after discovering air locks post-startup. This preparatory discipline is a cornerstone of a professional Paver Block Machine Assembly Guide.
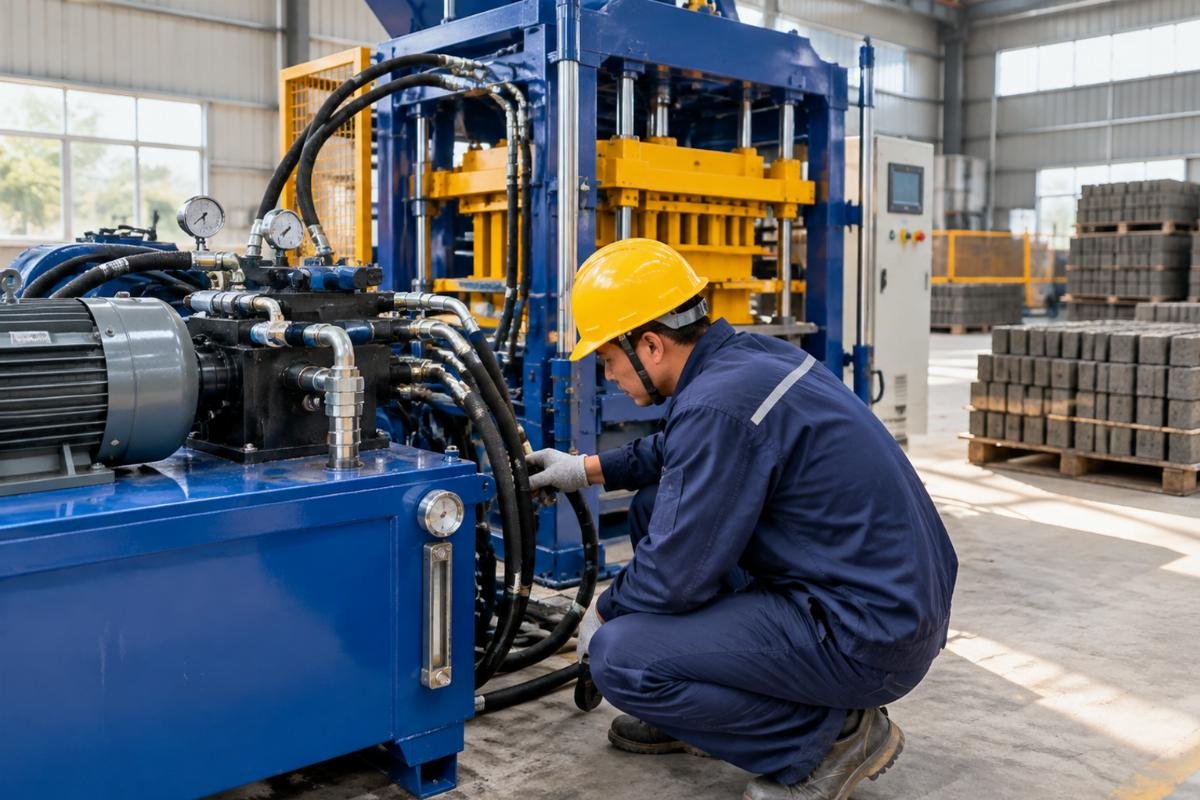
Ensuring hydraulic integrity and frame stability prevents avoidable downtime during the critical commissioning phase.
How to Calibrate the Vibration Table and Molds?
Step-by-step alignment of guides ensures zero-friction movement, extending mold lifespan and improving block quality.
This is the most technical part of the assembly process. Proper calibration ensures that the mold box moves vertically without binding, allowing the vibration energy to be transferred directly into the concrete mix.
- Level the Vibration Table: Place a precision spirit level on the vibration table surface. Adjust the mounting bolts or shims under the table until it is perfectly horizontal in both axes. Use a dial indicator to verify that the table does not tilt when the vibration motors are manually rotated. [NEED_CITE: methods for verifying parallelism in vibrating industrial tables]
- Check Mold Guide Rail Parallelism: Measure the distance between the left and right guide rails at multiple points along their length. The rails must be parallel to each other and perpendicular to the vibration table. Any deviation here will cause the mold to jam.
- Align the Mold Box: Lower the mold box onto the guides. It should slide down smoothly under its own weight without resistance. If it sticks, check for burrs on the rails or misalignment in the guide bushings.
- Verify Vertical Travel: Use a dial indicator to measure the vertical travel of the mold box. Ensure it moves straight up and down without lateral play. Lateral play indicates worn bushings or loose guide bolts.
In a scenario involving a precast producer in Latin America, proper parallel alignment during assembly extended their mold lifespan substantially. Previously, uneven wear from misalignment required frequent mold repairs. After recalibrating the guides according to strict tolerances, the molds ran for twice as long before needing maintenance. This step is where a Paver Block Machine Assembly Guide transitions from theoretical to practical value.
Shiyue’s turnkey service includes professional engineers performing these precise alignments and training local operators to maintain them, ensuring that the knowledge stays on-site long after the installation team departs.
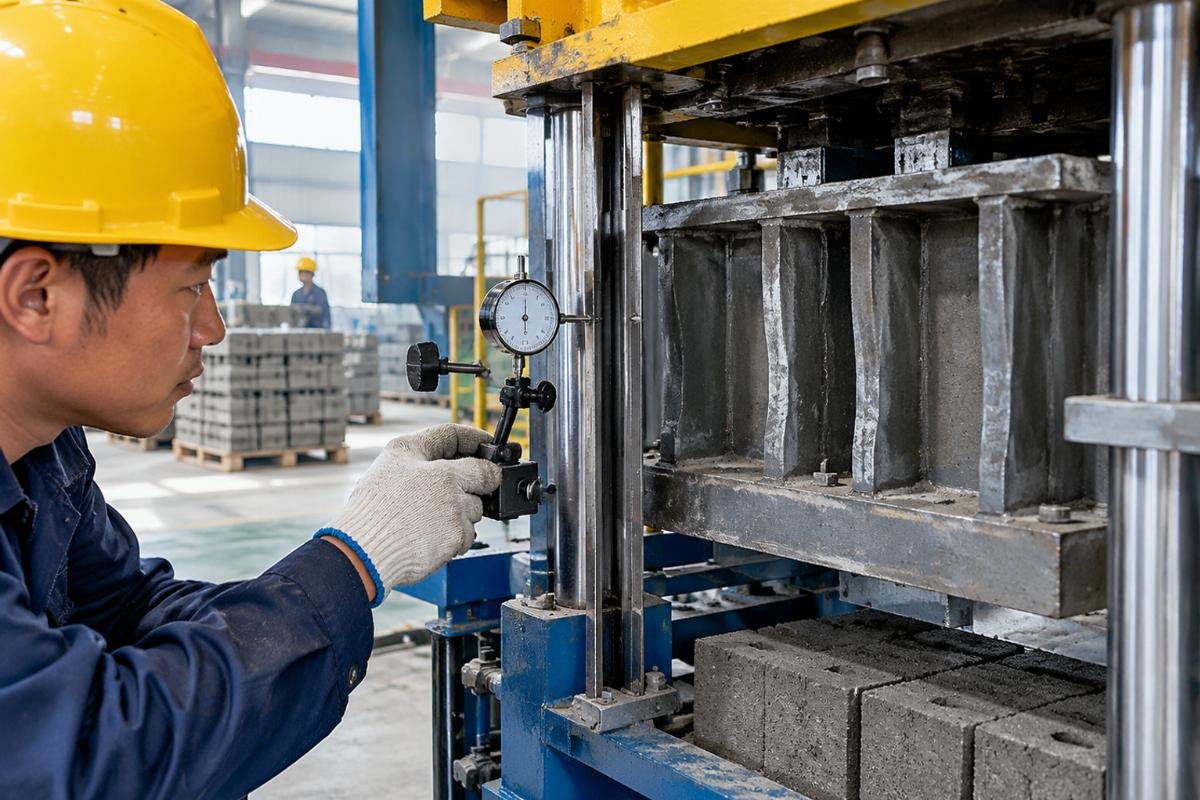
Precise calibration of moving parts is the difference between a machine that works and one that performs consistently.
How to Test Run for Quality Assurance?
Adjusting vibration frequency and feed depth eliminates edge burrs and ensures uniform density.
Once mechanical assembly and calibration are complete, the test run begins. This phase is about fine-tuning the operational parameters to match the specific concrete mix being used. Do not expect perfect blocks on the first try; adjustment is normal.
Start with a dry run to observe the movement of the mold box and the feed car. Ensure there are no unusual noises or vibrations in the frame. Then, introduce a small batch of concrete mix. Monitor the feed depth carefully. If the feed shoe is too high, the blocks will be underfilled; if too low, they may be over-compacted and difficult to eject.
Adjust the vibration frequency and amplitude. Higher frequency is generally better for thinner pavers, while lower frequency with higher amplitude suits thicker blocks. Watch the edges of the emerging blocks. If you see burrs or tearing, it usually indicates that the mold is still binding slightly or the vibration is too aggressive for the mix consistency. [NEED_CITE: relationship between vibration frequency and concrete particle arrangement]
For a government infrastructure contractor in the Middle East, adjusting the feed depth and vibration timing reduced the rejection rate noticeably during the first week of operation. The key was iterative testing: make one small adjustment, run a batch, and evaluate. This methodical approach is essential for anyone following a Paver Block Machine Assembly Guide to achieve commercial-grade quality quickly.
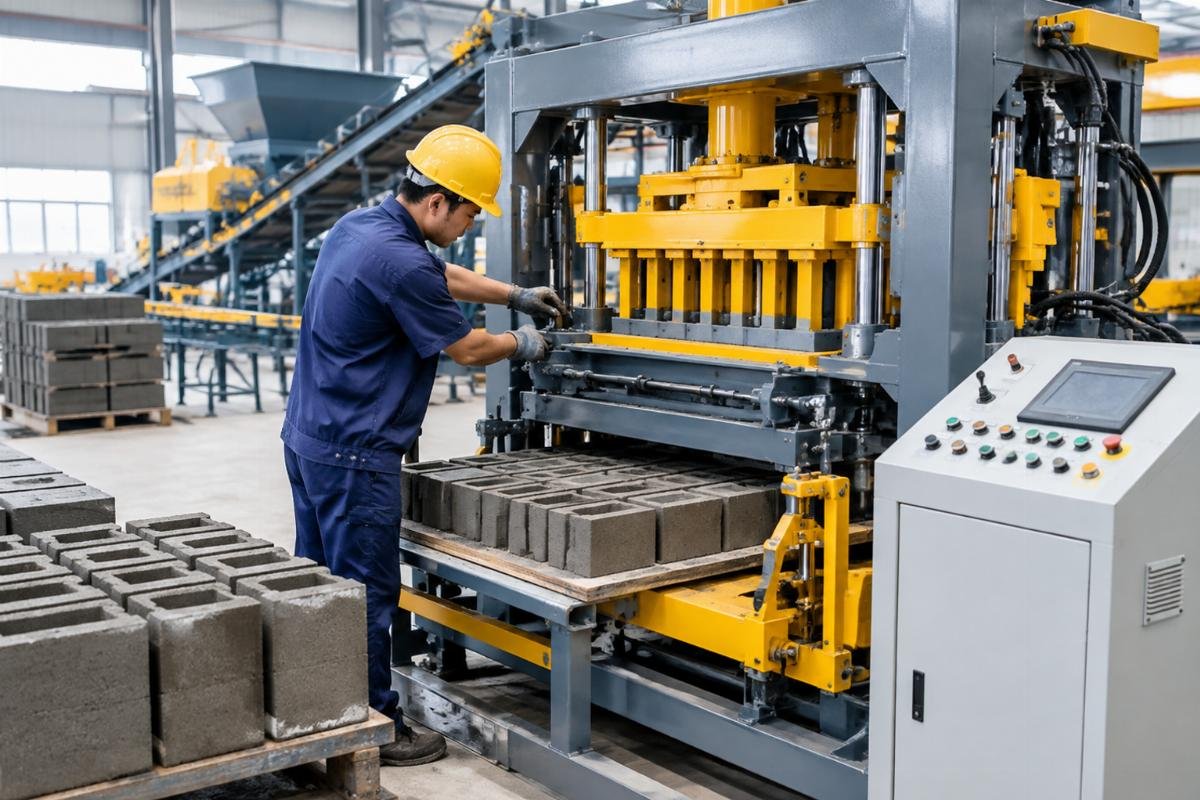
Fine-tuning operational parameters based on real-time output ensures the machine meets production targets efficiently.
Conclusion
Precision in assembly dictates profitability in production.
A well-assembled machine minimizes waste and maximizes uptime from day one. By focusing on baseline verification, hydraulic integrity, and precise mold alignment, contractors can avoid the common pitfalls that plague new installations. This disciplined approach transforms a complex piece of equipment into a reliable asset for any construction business. Following a detailed Paver Block Machine Assembly Guide ensures that your investment delivers immediate value.
Leave a Reply